

 Shibori Kimono
Friday, August 4 2017
Shibori Kimono
Friday, August 4 2017


Hey there! Laura here from Trash to Couture. A few posts back I shared my yearly Shibori with Indigo post here. It was to date my favorite outcome of all my dye sessions. While dyeing I cut out a traditional kimono pattern using Organic Cotton Plus's White Sateen. The feel and sheen of the fabric was perfect for this kimono. I loved how vibrant the Indigo dye came through on the natural fibers. Well, I finally had a chance after moving to sew the pieces together. Still in time for summer! The kimono is a versatile piece that can be worn as a cover up at the pool or a statement piece for an evening out. You can alter the pattern to be longer and/or wider. The sashes add fit and can be tied in either the front or back. See how to sew your own kimono in the steps below!
Supplies:
DIY tutorial:
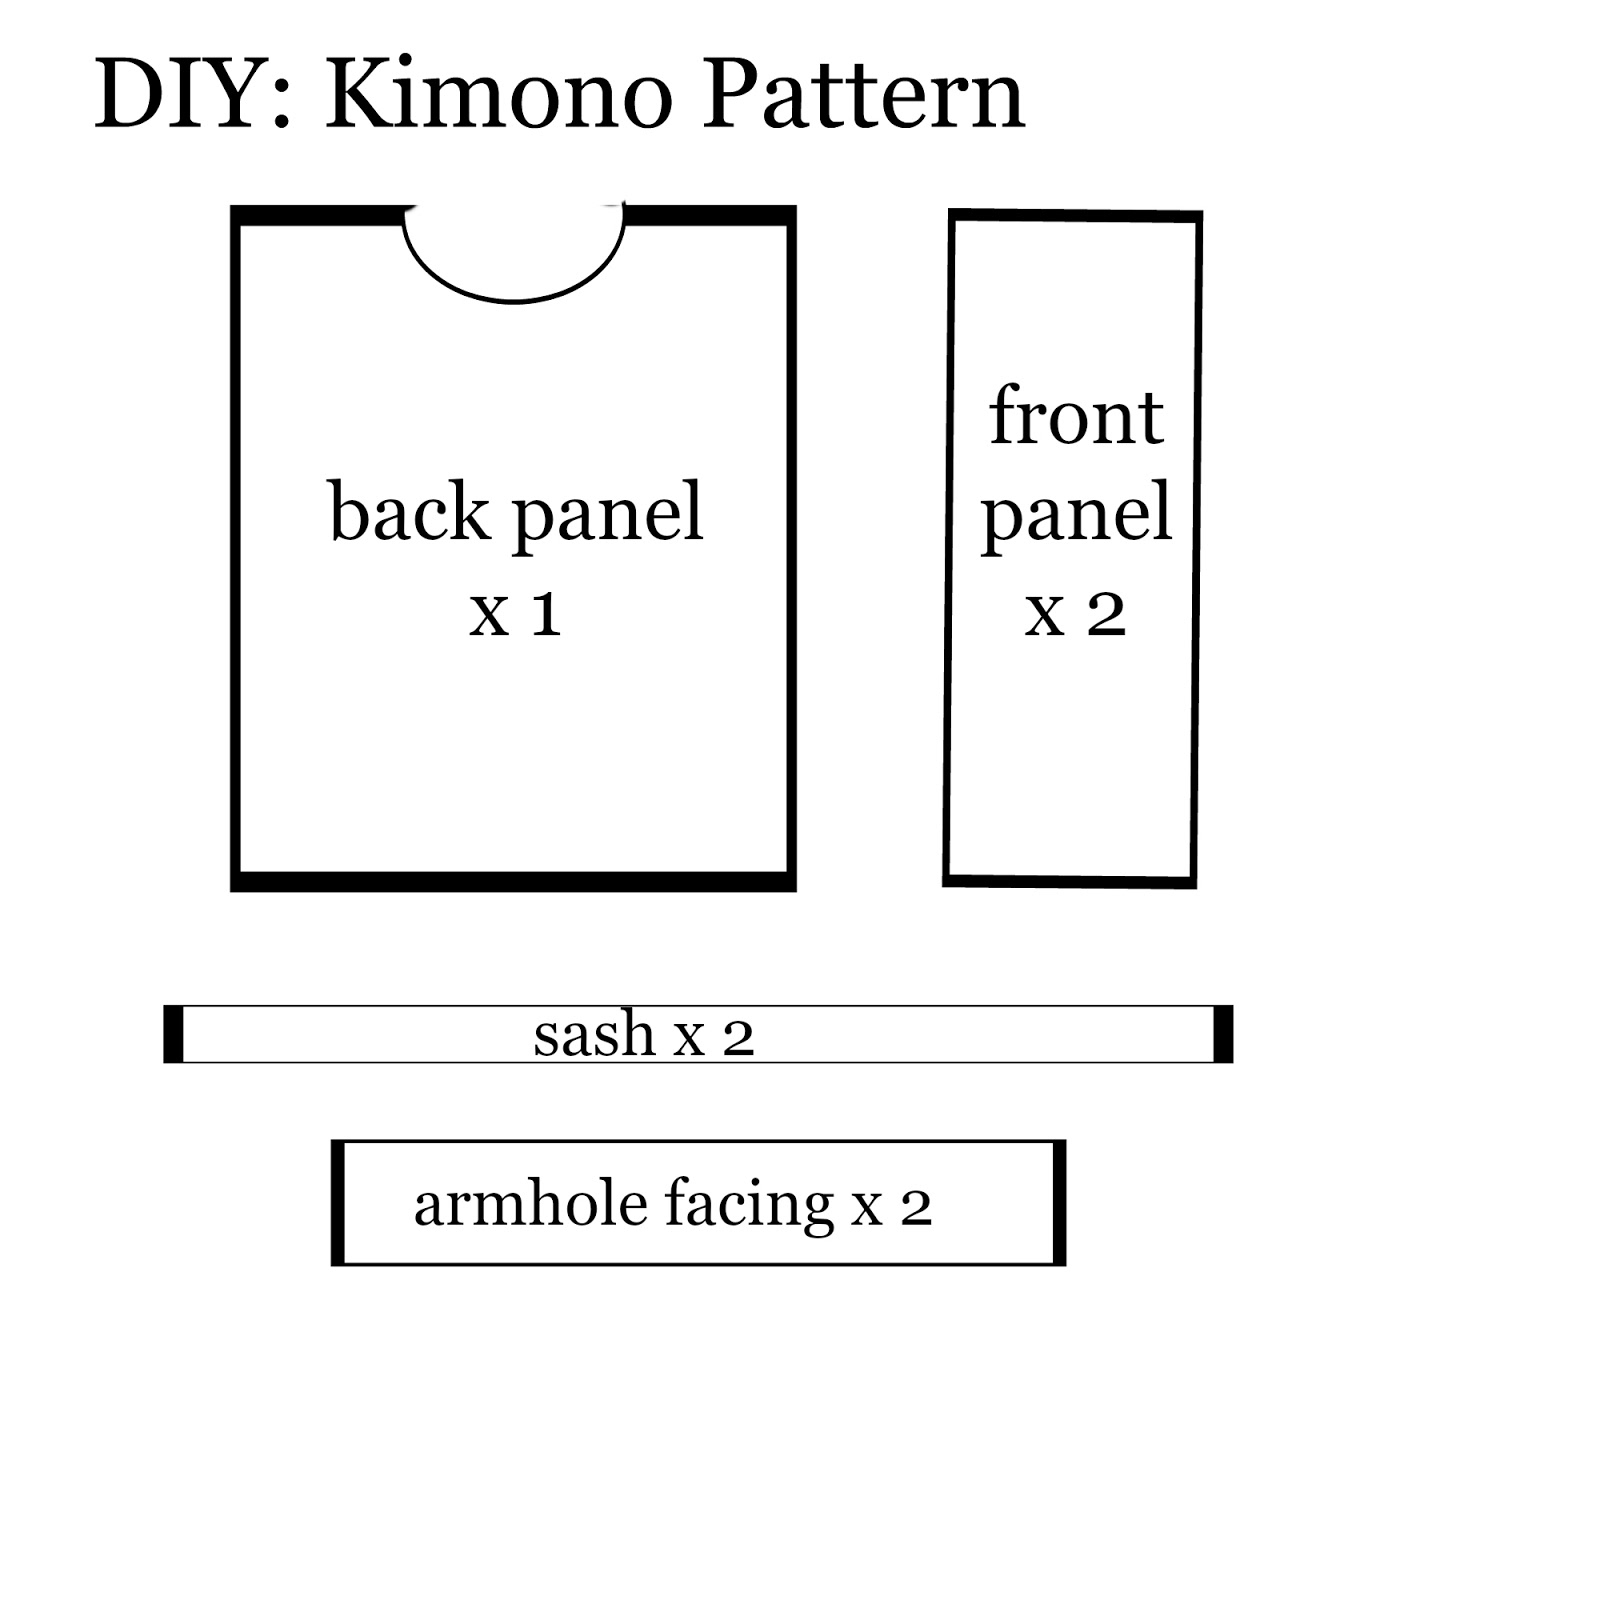
Use the template above to create your pattern. My measurements for this kimono were:
back panel: 24" x 28"
front panel: 10" x 28"
sash: 3" x 20"
facing: 4" x 15"
I used a seam allowance of 3/8" unless mentioned otherwise.
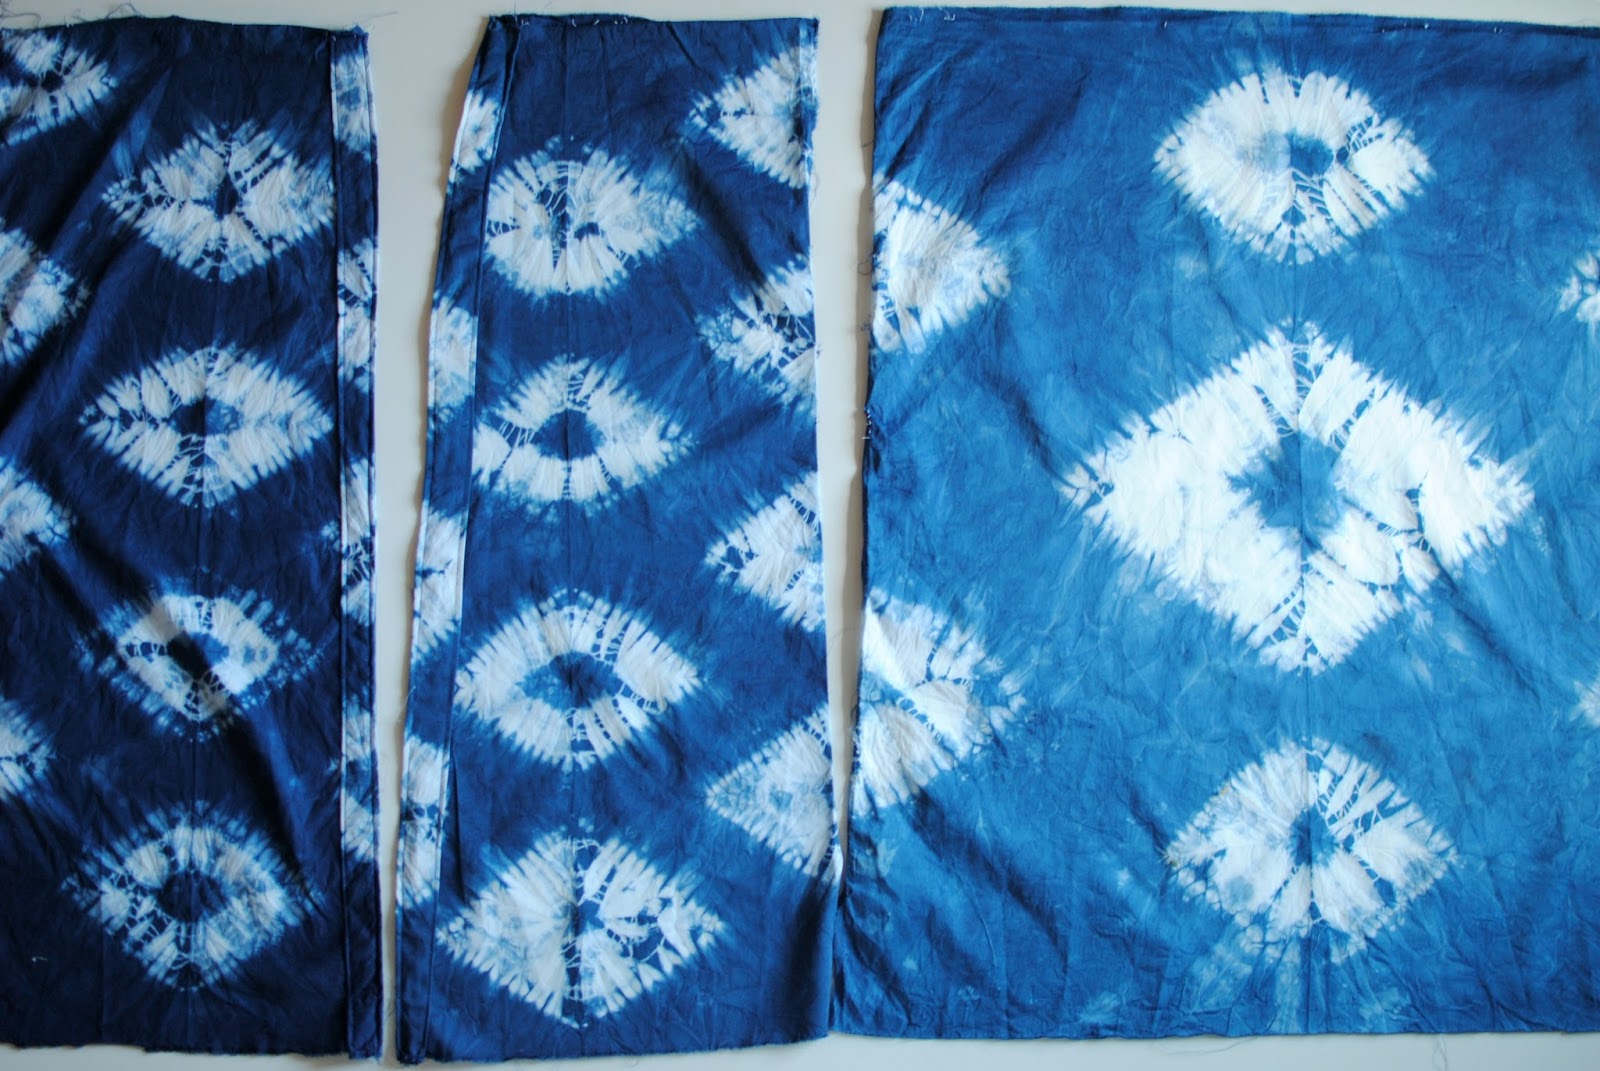
Finish the inside edges of the front panels. I folded mine over 1/8", pressed, and then another 1/2" press. Sew the hem into place.

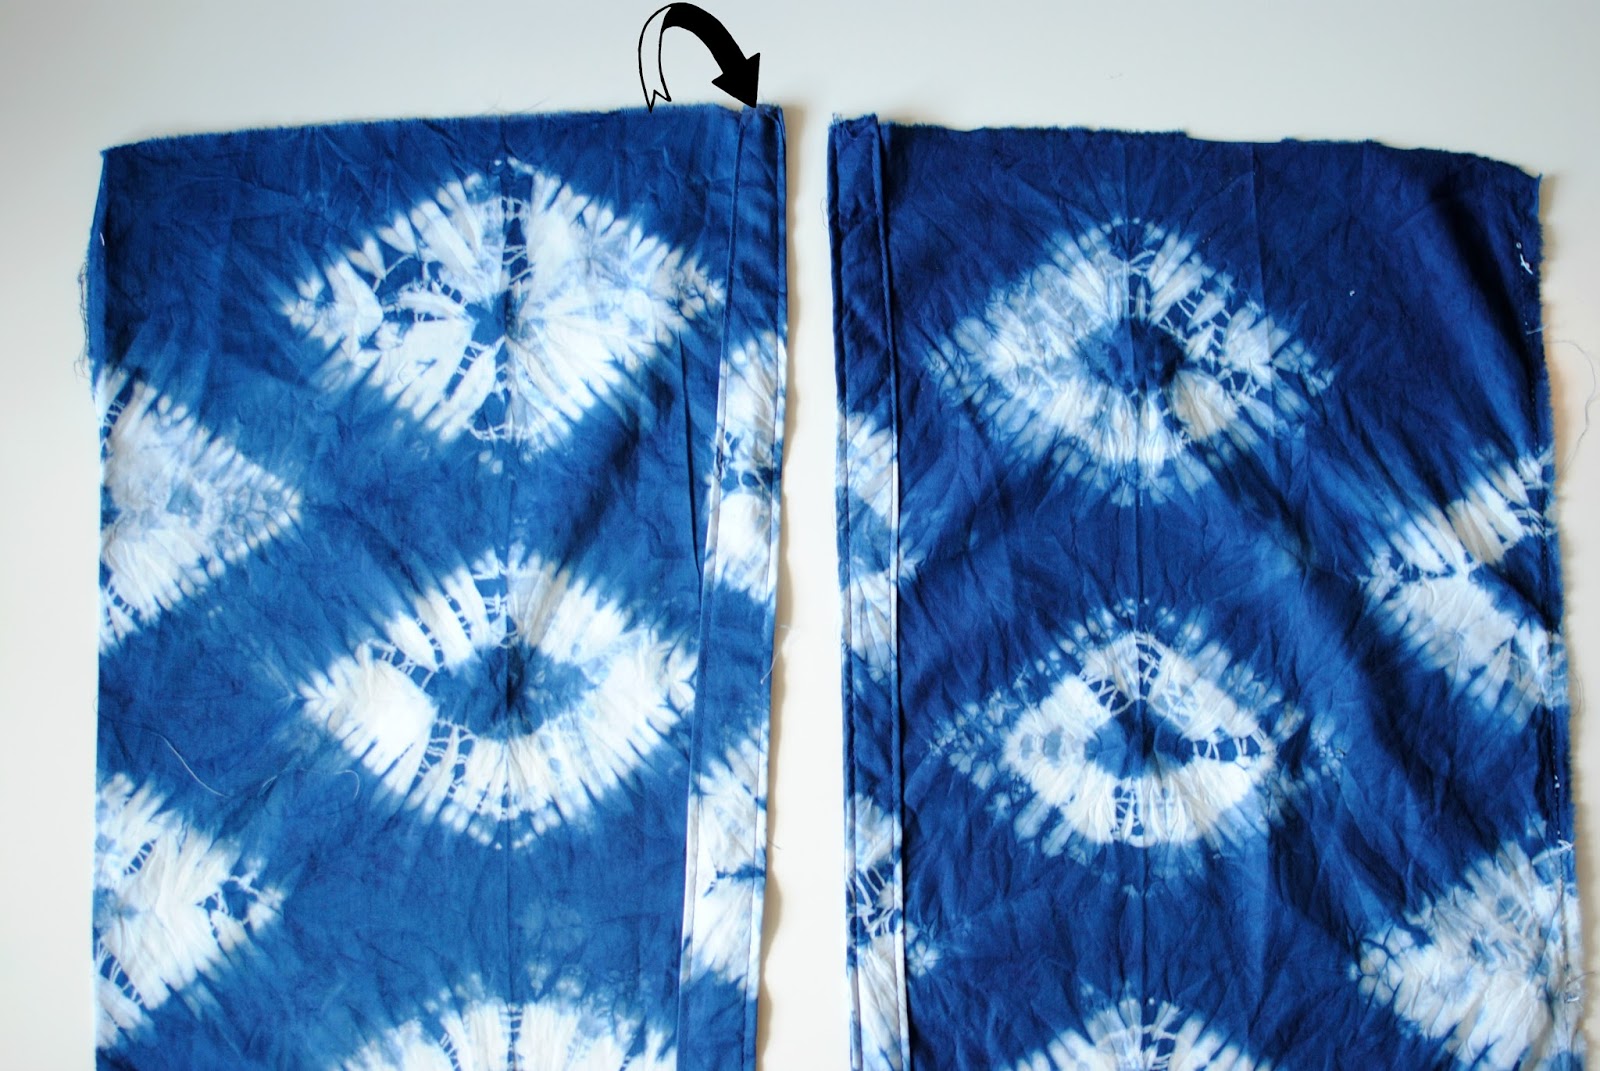
To create your sashes: Fold 2 of your strips right sides together and sew along the edge. Then use a loop turner to flip it right sides out. Press so the seam is in the middle of the back.

Place front panels right sides together with back panel. Sew at the shoulder seam.
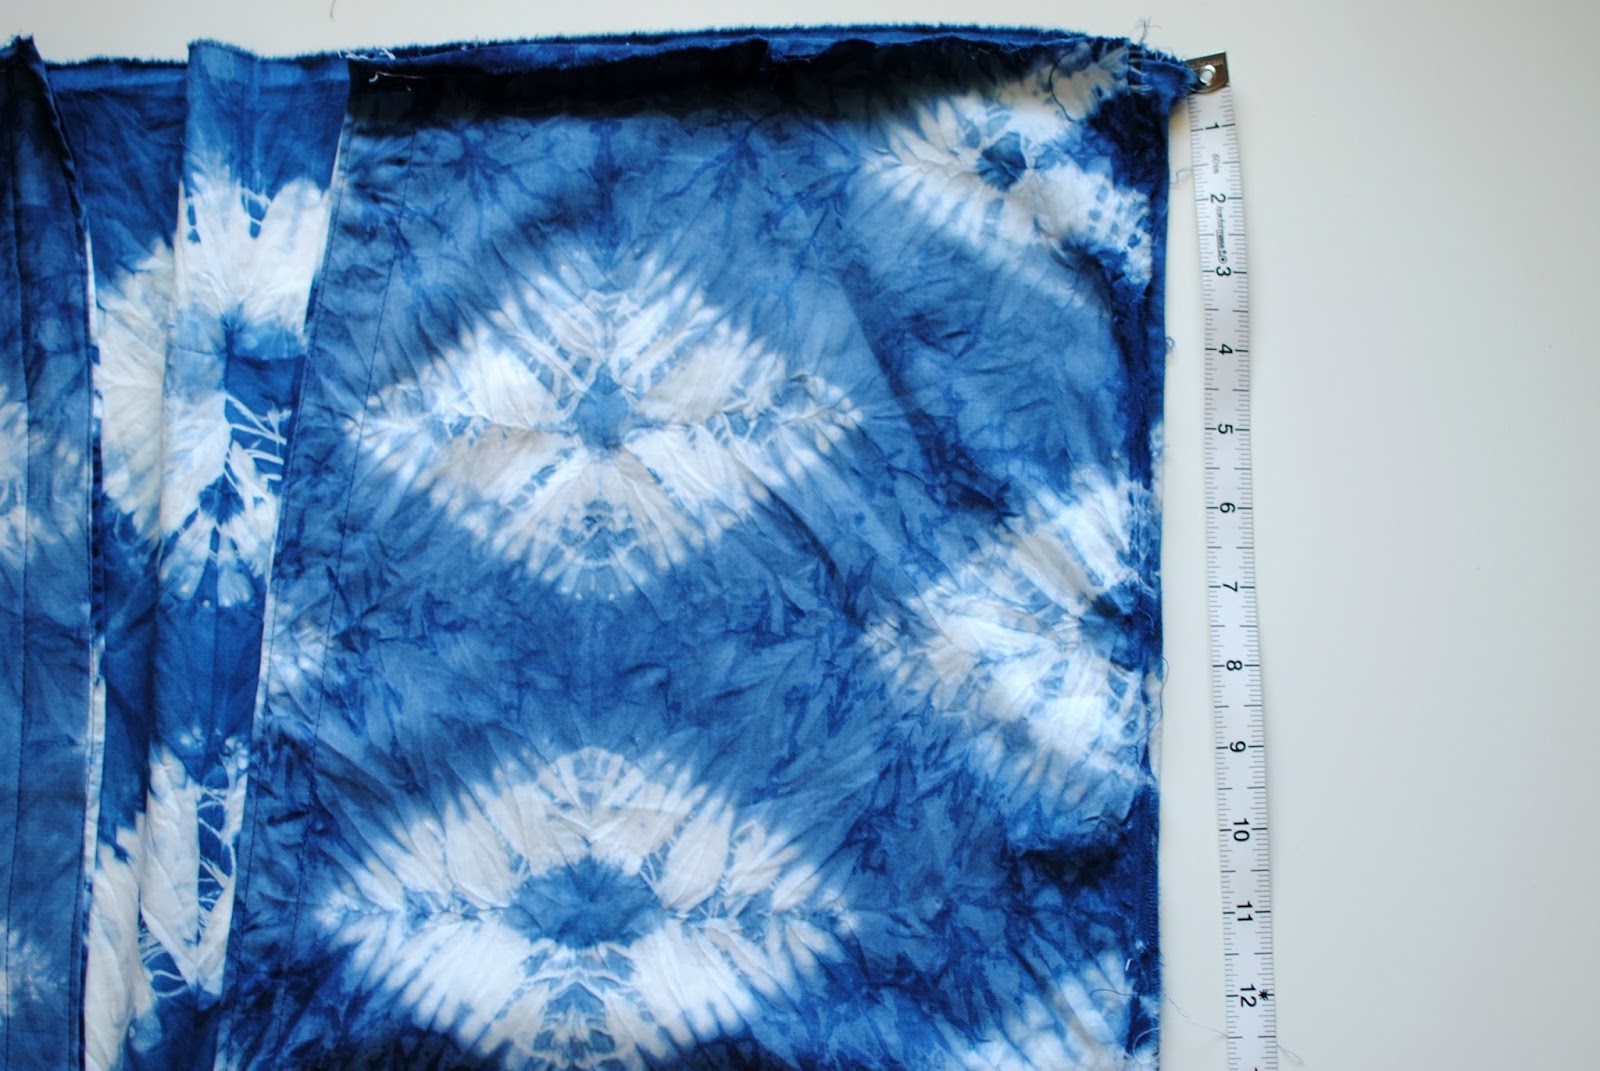
Measure the length you want your armhole opening. For a kimono you'd want it to be loose. Mine was about 13".
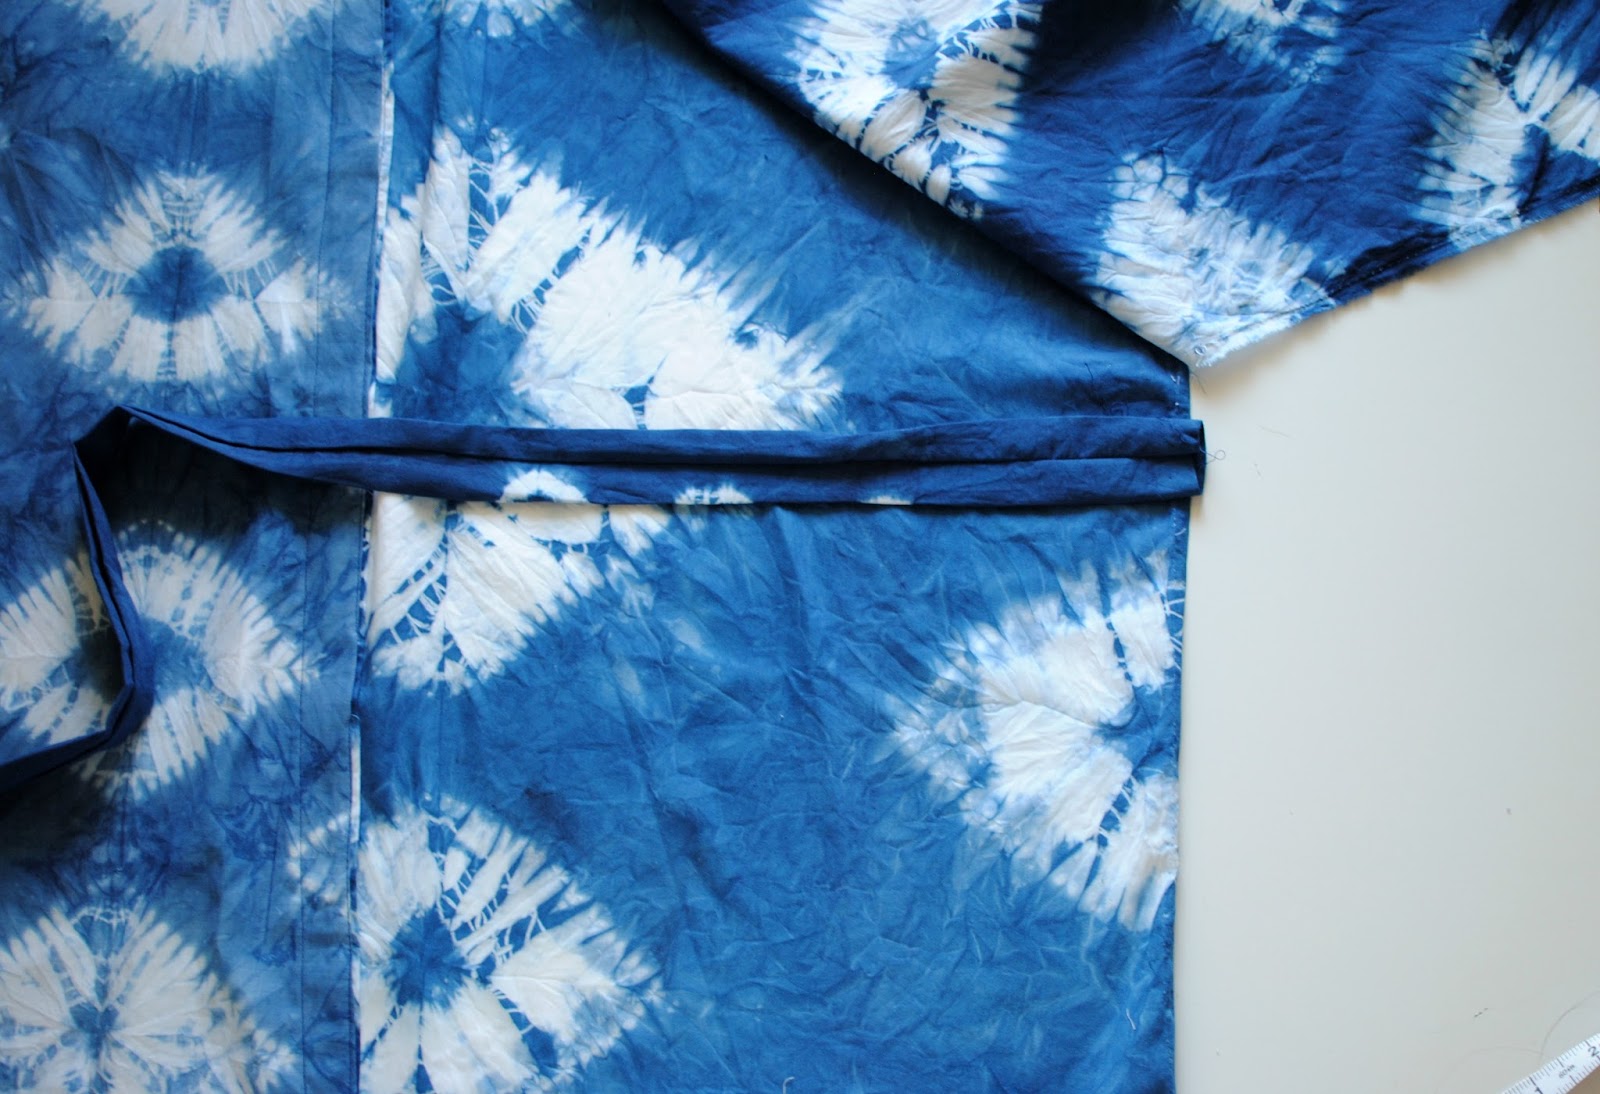
Mark where you want your armhole to stop, mine was 13" down from the shoulder seam. About 5" down from that point, or to the waist, sandwich your sash in-between the front and back panel and pin into place. The sash should be right sides together with the back panel. Sew the side seam right sides facing, from the armpit mark to the bottom. Repeat for the other side.


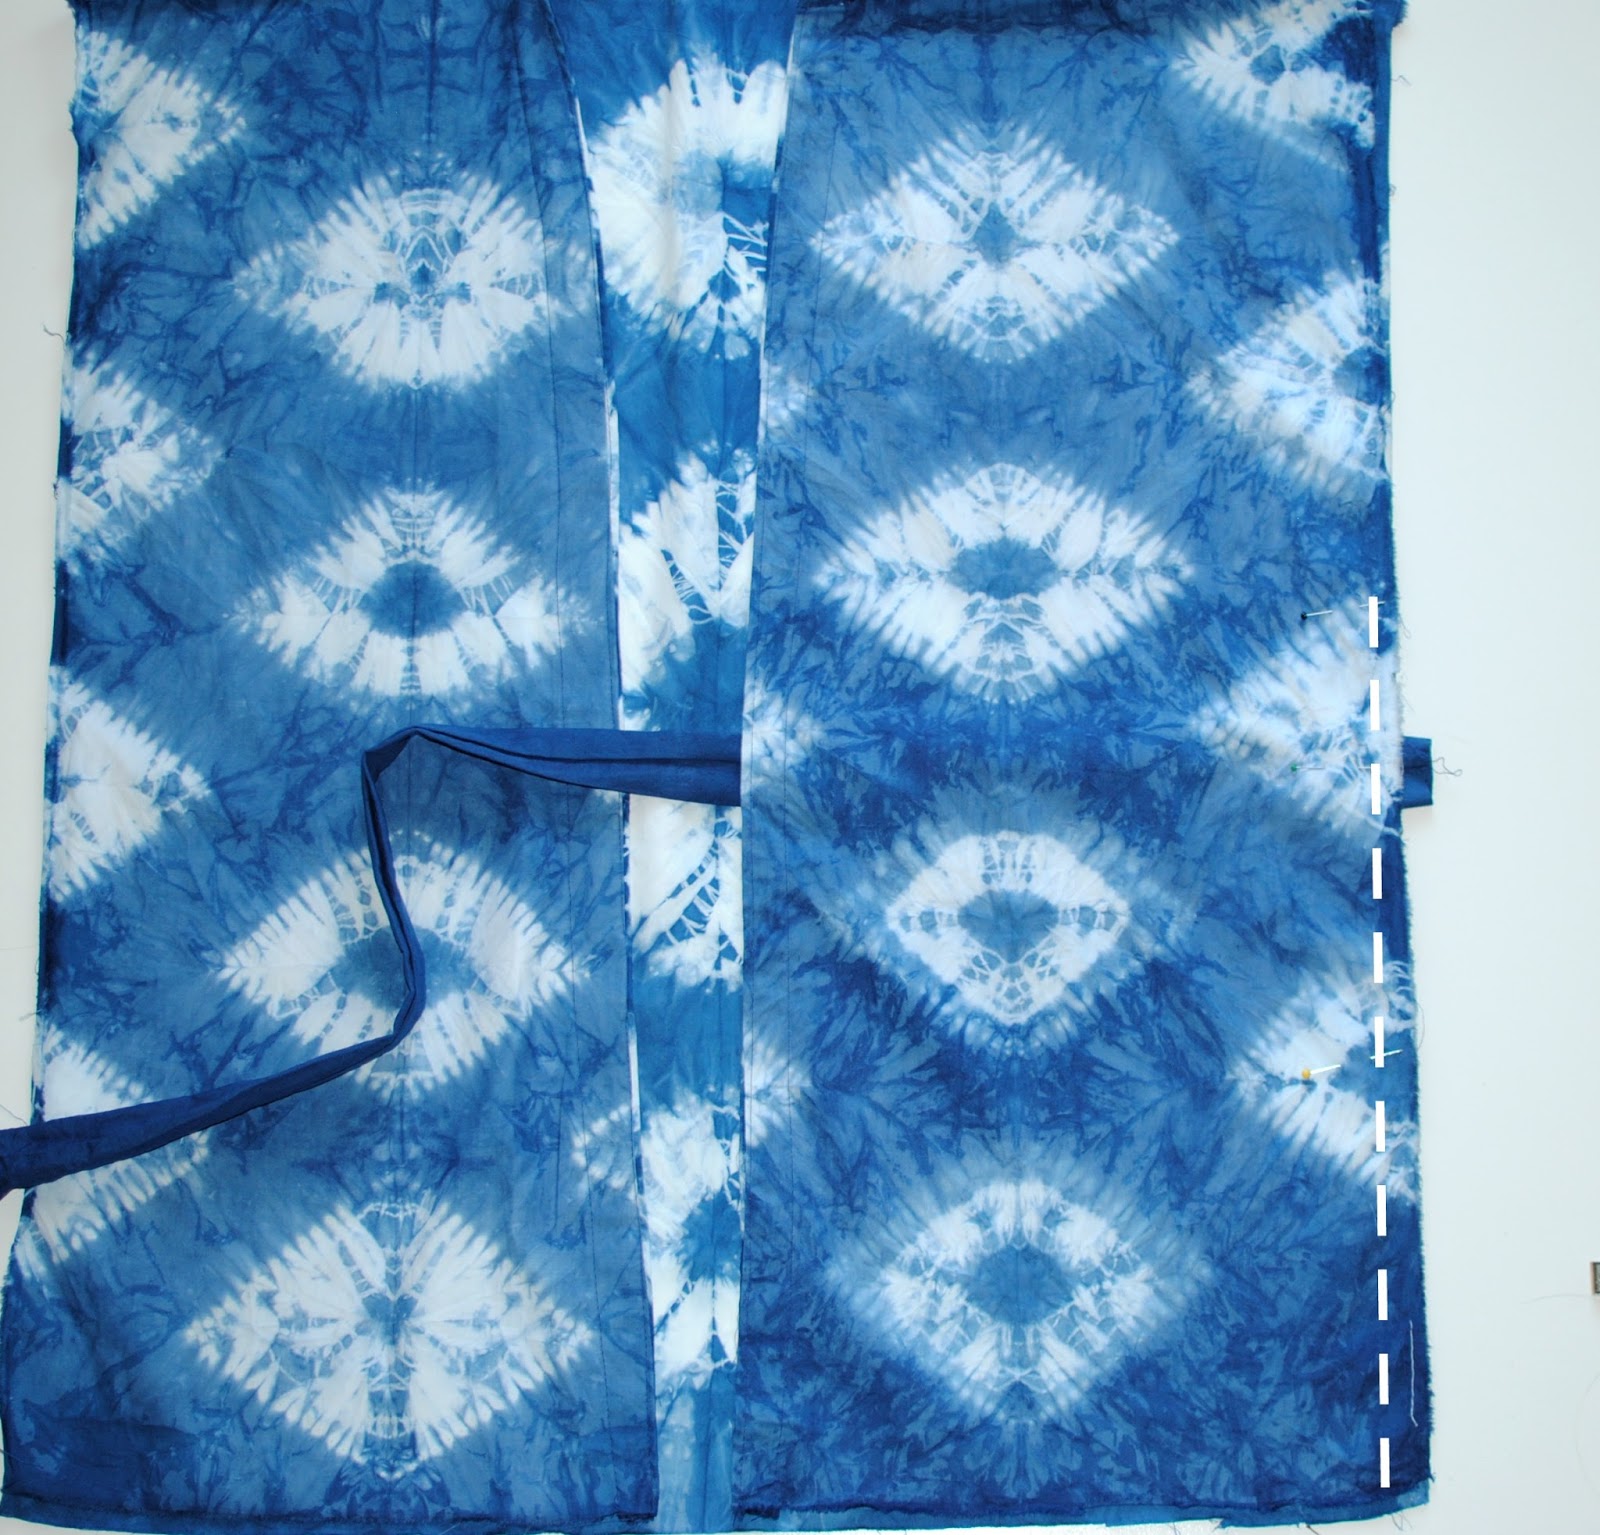
Press open and it should look like this.

At this point, all that is left to do is hem the bottom edge and back neckline. That's it! Such a simple project with a beautiful outcome!
Check out OrganicCottonPlus.com for more organic fabrics, notions, & supplies.

0 Comments:


 Same day shipping for most orders
 Questions? Call us toll-free at: 1-855-SEW-PURE
